I will introduce easy shooting techniques using the 360° camera QooCam 8K Enterprise that anyone can use to create NeRF. By using a 360° camera and NeRF, you can easily create a 3D model with 360° video coverage.
Amazingly, this NeRF was completed with just one minute of shooting. With further fine-tuning, even better results may be achievable. If you are interested in NeRF, you can rent all the necessary equipment.
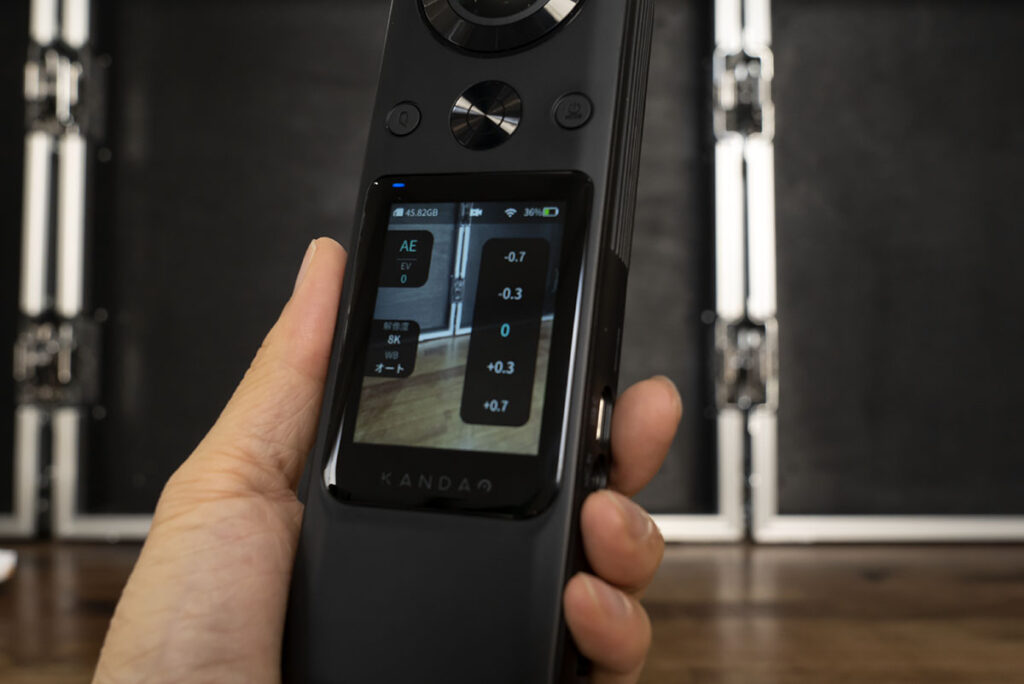
Exposure matched to the subject
Exposure matched outside the subject
Is NeRF difficult?
Indeed, NeRF can be challenging, but it becomes very easy if you use a web service called Luma AI that processes NeRF for you.
A well-known program for NeRF is NVIDIA Instant NeRF. For more information about NVIDIA Instant NeRF, please refer to the following. Many engineers might have set up and experimented with NVIDIA Instant NeRF about a year ago (in 2022).
NVIDIA Instant NeRFについて
https://blogs.nvidia.co.jp/2022/04/07/instant-nerf-research-3d-ai/
https://github.com/NVlabs/instant-ngp
https://developer.nvidia.com/blog/getting-started-with-nvidia-instant-nerfs/
To perform NeRF on Windows, you need a high-end NVIDIA GPU and must install Visual Studio 2019, C++, CMake, CUDA Toolkit, Python, etc., set the paths, compile, and execute commands.
These requirements can be quite daunting for non-engineers, and there is also the need to procure a high-end NVIDIA GPU. Even if you manage to execute the commands, you might struggle with adjustments and subsequent processing.
However, there is a web service called Luma AI that simplifies the process of NeRF. By using this service, you can create NeRF without needing to worry about paths, compiling, or commands; you simply upload your video. No GPU is required for this web service. APIs are also available, making it possible to integrate this service into your own business or services.
Luma AI
https://lumalabs.ai/
Please note that while you can perform NeRF from your smartphone by installing an app from the App Store, this explanation will not cover the use of smartphones due to the focus on using a 360° camera in this instance.
Since you will be uploading shooting data, make sure to read the PRIVACY POLICY carefully before using the service.
Luma AI PRIVACY POLICY
https://lumalabs.ai/legal/privacy
Once you have registered with Luma AI and have your shooting data, you are ready to perform NeRF. Next, I will introduce shooting techniques for NeRF using the 360° camera QooCam 8K Enterprise.
The basic concepts of NeRF photography.
Here are the basic concepts of NeRF photography. I will summarize the fundamental principles of shooting in an easy-to-understand manner.
Luma AI Capturing Best Practices
https://docs.lumalabs.ai/MCrGAEukR4orR9
Here are the basic principles for NeRF photography:
1.Ensure the video does not blur.
2.Instead of using pan or tilt to capture a wide area, move around to cover extensive areas.
3.Shoot from various angles.
4.Avoid shooting objects that are constantly moving.
5.Do not use camera corrections such as stabilization or HDR.
These principles are similar to those of photogrammetry, which uses the parallax between multiple images for calculations. Therefore, unusual corrections or blurred images can lead to poor analysis. Due to the reliance on parallax, methods that involve panning or tilting the camera while stationary are not suitable. Additionally, according to Luma AI’s specific limitations, images exceeding 4K may not be processed effectively.
Given that Luma AI has difficulty processing images exceeding 4K, I set the camera to 4K at 120fps mode. The 120fps mode automatically forces the frame rate to at least 120fps, which helps prevent camera shake.
You can change the resolution and other settings by swiping up from the bottom of the touch screen. Select the 4K120fps mode there. Please adjust the exposure and white balance as needed. With these settings, your camera is now ready.
Basic Techniques for Photogrammetry Photography
I also incorporated basic techniques for photogrammetry photography, which should be effective.
1.Start by capturing the entire area around the subject from a distance.
2.Change the camera height in about three stages (for example, 2.5m, 1.5m, 1m).
3.Aim the camera so that important subjects are not on the edge of the lens.
4.Begin and end at the same height and position.
The reason for these techniques is as follows: Capturing the whole area initially makes it easier to connect the analysis of the closer shots that follow. Changing the camera height allows for evenly capturing images with parallax. The edges of a 360 camera lens perform poorly and also serve as the stitching interface, so they are best avoided. Starting and ending at the same height and position makes the analysis easier. Note that steps 1 and 4 might not be necessary if using Luma AI.
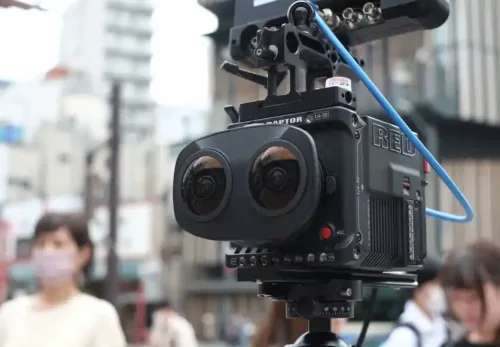
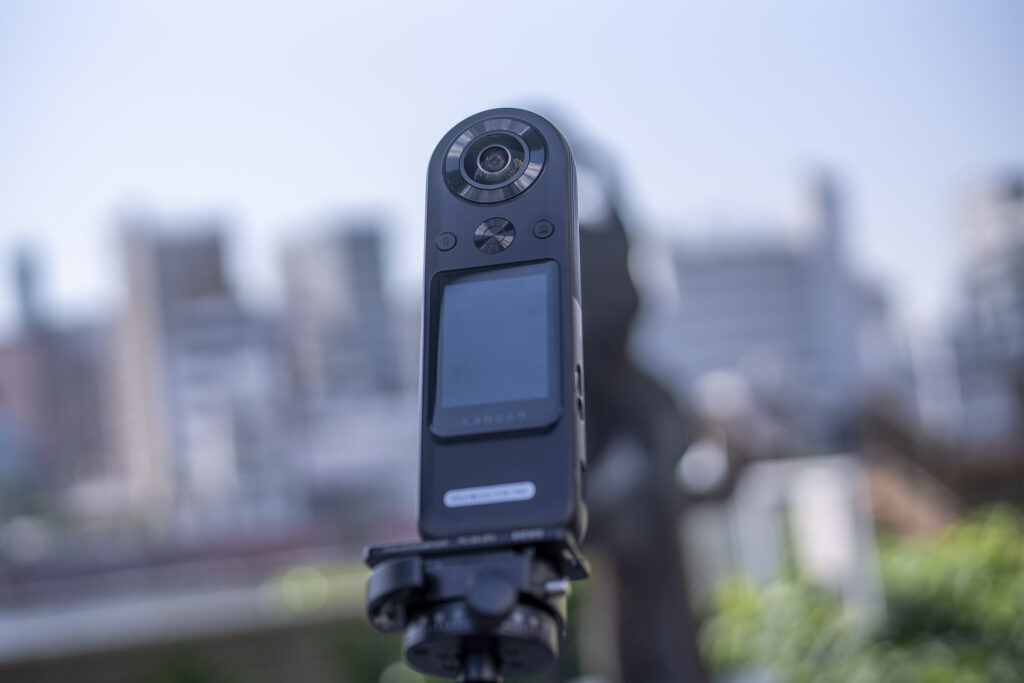
Actual Shooting with QooCam 8K Enterprise
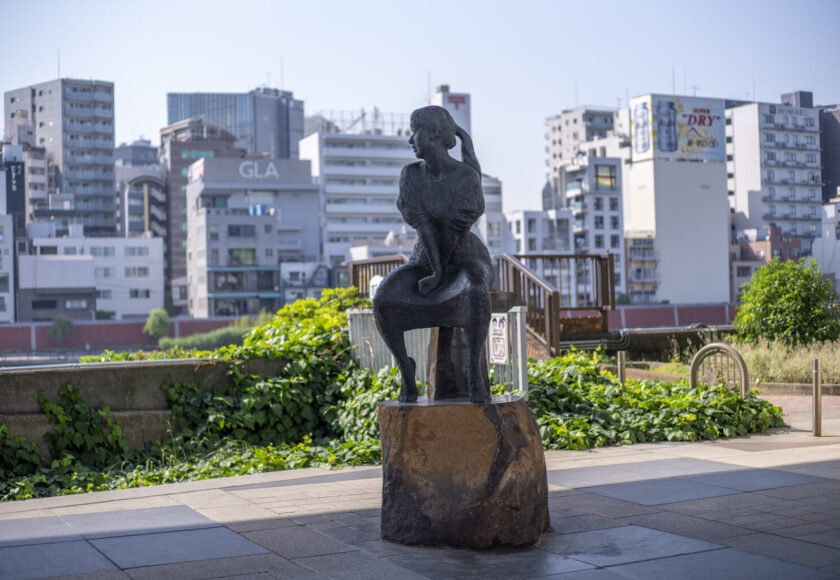
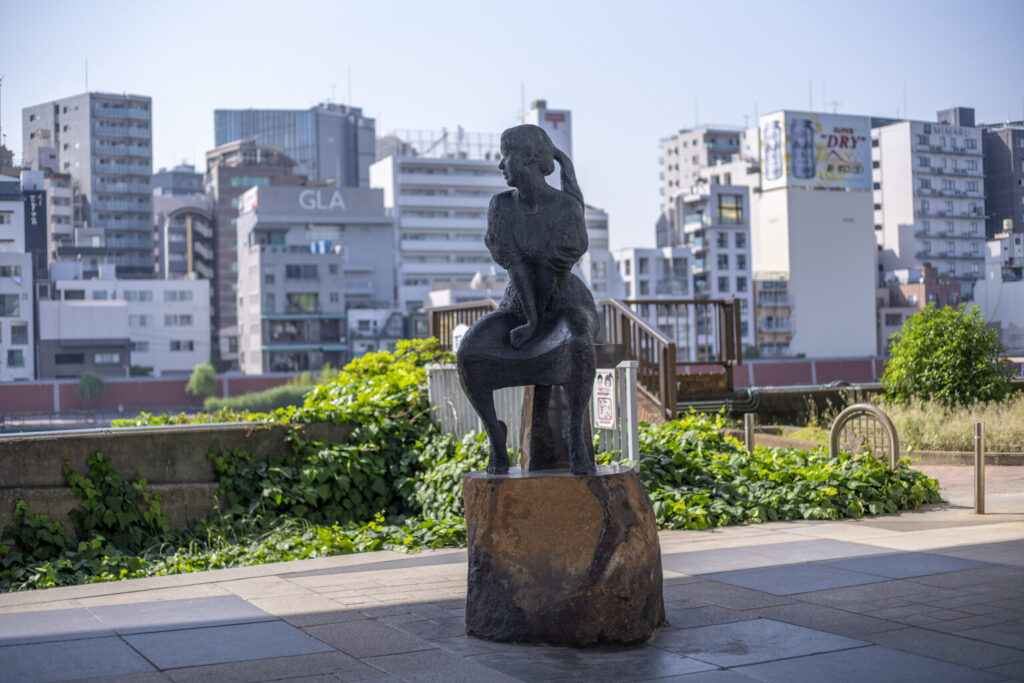
I will conduct a shooting test using the QooCam 8K Enterprise on an affordable bronze statue.
First, start by walking around the subject from a distance. Then, approach and make a circle at 2.5m, another at 1.5m, and a final one at 1m. You may also move closer with the camera to capture detailed expressions of specific areas.
The camera movement goes like this.
After shooting, I will process the stitching in QooCam Studio 2.0. I have turned off stabilization because the shaking is probably irrelevant. However, there is a possibility that having stabilization on might result in better processing.
Upload the stitched data to Luma AI. It would be advisable to select “equirectangular” and check the “Remove Humans” option. That’s all there is to it.

After waiting for a while, it will be complete.
With just one minute of shooting, I was able to create a NeRF. Further fine-tuning might yield even better results. If you are interested in NeRF, you can rent all the necessary equipment.