While platforms like YouTube and Facebook are accessible for live streaming by anyone, they don’t support 8K. Even if you have a camera that can broadcast in 8K, there are few servers available that casually support 8K broadcasting.
We will set up an almost free-to-use H265 compatible 8K live streaming server (RTMP/HLS) and give 8K live broadcasting a try. There are two methods:
- Using a broadcasting service.
- Building your own broadcasting server.
For this instance, we will build our own broadcasting server.
We will use the H265-supported SRS (Simple Realtime Server).
When setting up a broadcasting server, nginx combined with the nginx-rtmp-module is commonly used. Since it doesn’t officially support H265, various adjustments are needed to use it for 8K live broadcasting.We will use the H265-supported SRS (Simple Realtime Server).
SRS (Simple Realtime Server)
https://ossrs.io/lts/en-us/docs/v5/doc/introduction#whos-using-srs
Setting up AWS EC2:
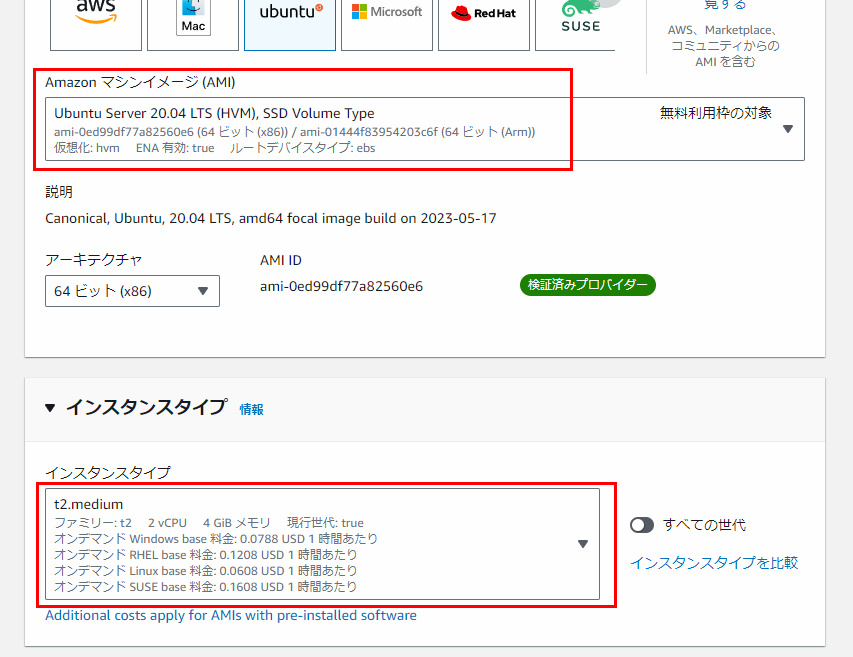
We will use AWS EC2. we will use version 20.04LTS and create with something like a t2.medium instance.this is just for testing.
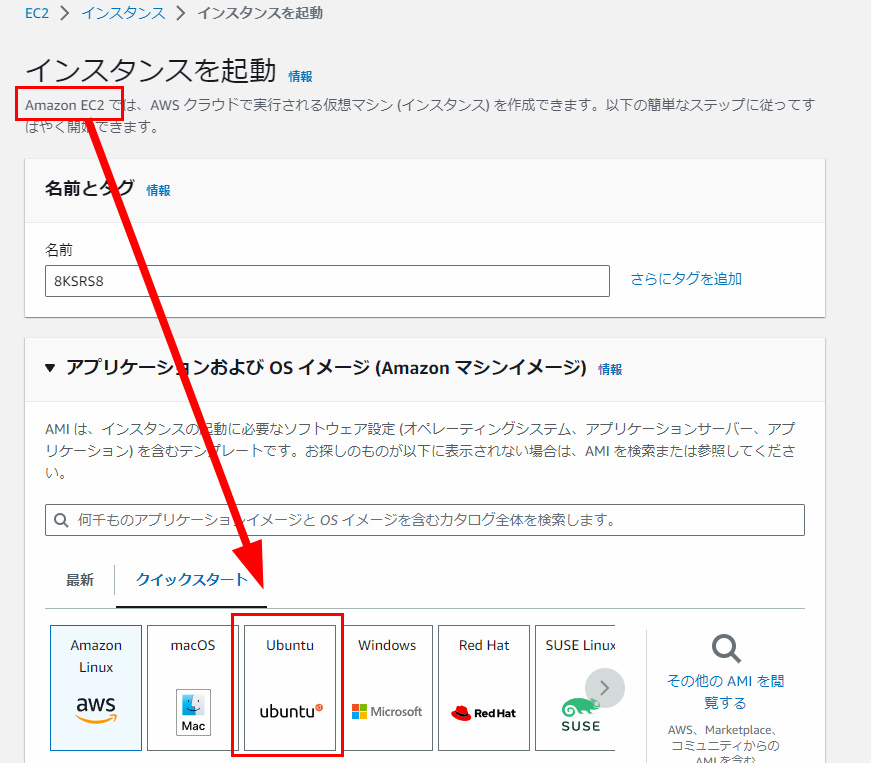
Please choose the most suitable instance type.
Once the instance is launched, set up the security group. We will make the minimal necessary configurations. For this instance, we will use ports 22, 1985, 8080, and 1935 over TCP.
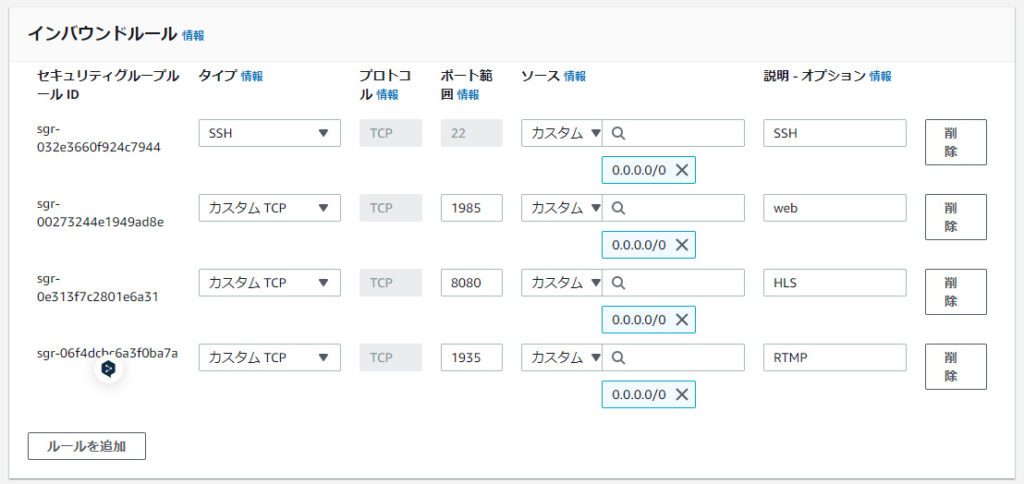
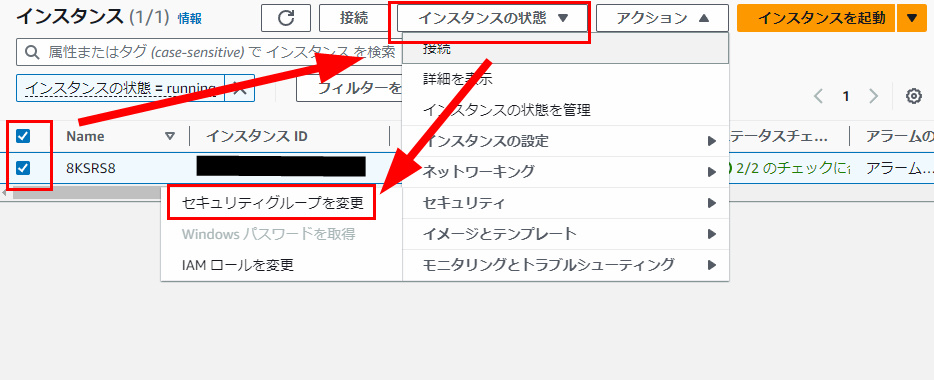
Apply the security group to the instance, and you’re done.
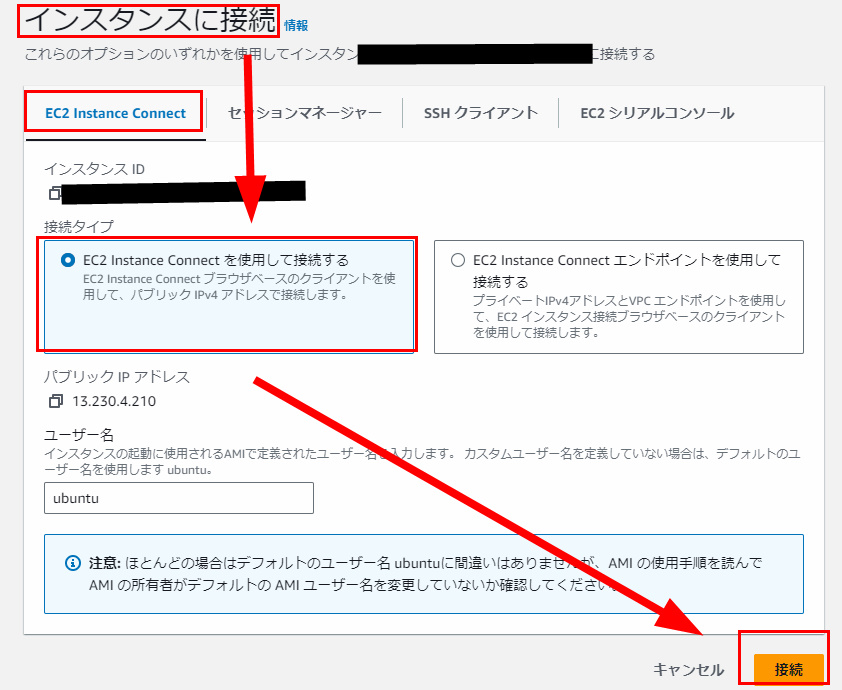
From the EC2 web browser, connect to the instance and open the terminal.
Install the SRS package and tools:
Update the repository and install the SRS package and tools.
Next, create the srs.conf.
sudo apt update && sudo apt install -y build-essential libssl-dev unzip tclsh cmake pkg-config autoconf automake && git clone -b develop https://github.com/ossrs/srs.gitcd srs/trunk && ./configure --h265=on && make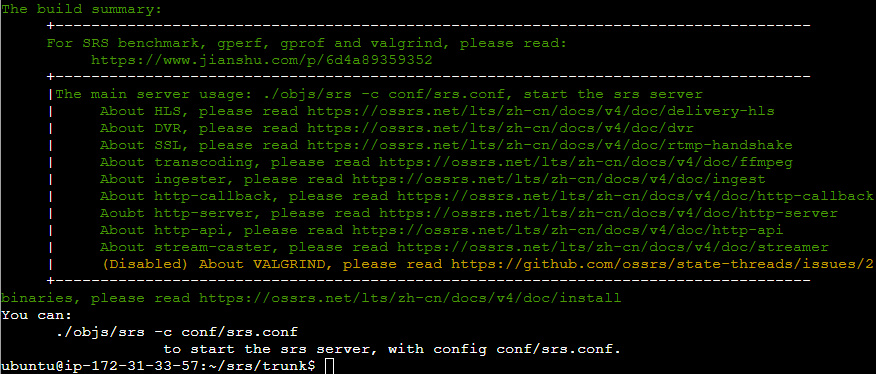
SRS will run with the command ./objs/srs -c srs.conf. Since it’s cumbersome to start it every time, set it to auto-start.”
sudo nano srs.conflisten 1935; max_connections 1000; srs_log_tank file; srs_log_file ./objs/srs.log; http_api { enabled on; listen 1985; crossdomain on; } http_server { enabled on; listen 8080; dir ./objs/nginx/html; } stats { network 0; disk sda sdb xvda xvdb; } vhost __defaultVhost__ { hls { enabled on; hls_path ./objs/nginx/html; hls_fragment 5; hls_window 30; } http_remux { enabled off; } }
以上にて、./objs/srs -c srs.confでSRSが動作します。毎回起動がめんどくさいので、自動起動するように設定します。
Set it to auto-start every time as a systemd service
Create a .sh file and set it up to auto-start as a systemd service every time. The username for AWS ubuntu is “ubuntu”.
sudo nano /usr/local/bin/start_srs.sh#!/bin/bash
cd /home/ubuntu/srs/trunk
./objs/srs -c srs.confSet the execute permissions as well.
sudo chmod +x /usr/local/bin/start_srs.shThen, register it as a systemd service.
sudo nano /etc/systemd/system/srs.service[Unit]
Description=Start SRS service
After=network.target
[Service]
Type=forking
User=ubuntu
Group=ubuntu
ExecStart=/usr/local/bin/start_srs.sh
Restart=on-failure
[Install]
WantedBy=multi-user.target
Enable starting on boot.
sudo systemctl enable srs.service
Reboot the system to check if it starts correctly.
sudo rebootsudo systemctl status srs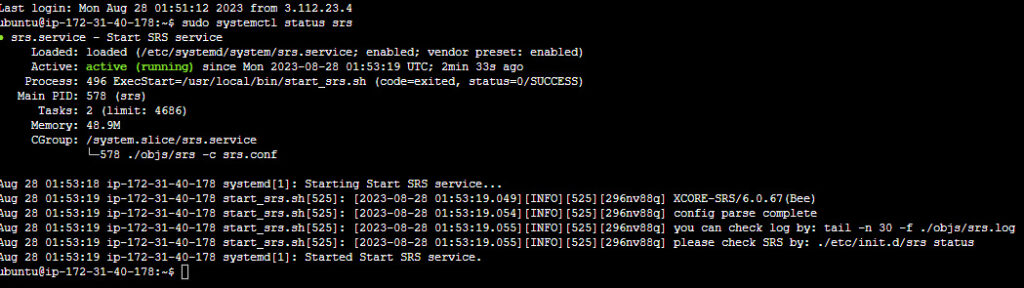
If it boots without any issues, the preparation is complete. Now, every time you start the server, the SRS server will automatically start. With that, the setup is done.
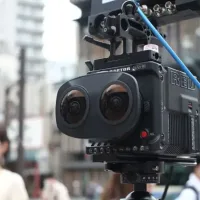
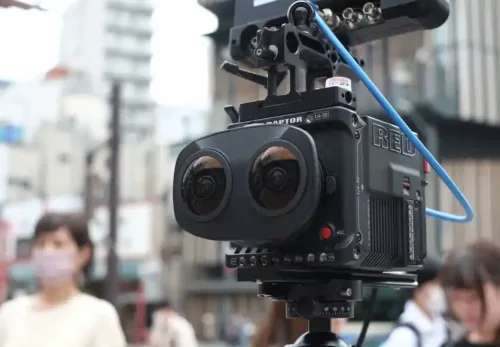
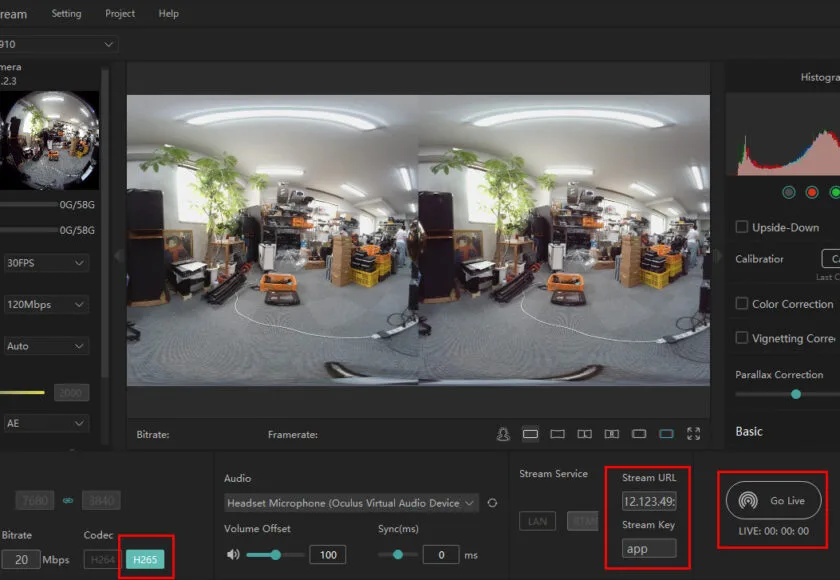
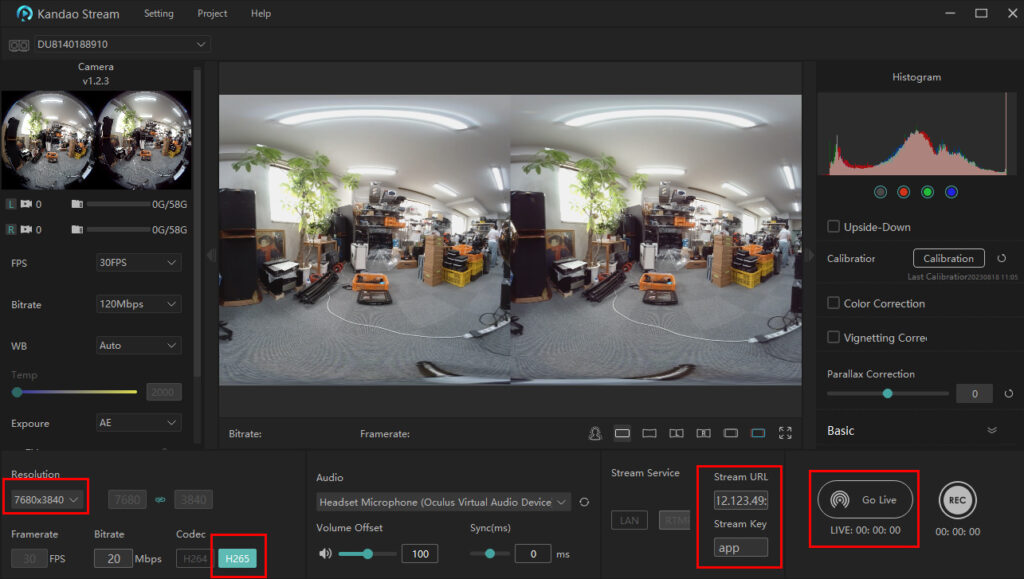
For a test, let’s try broadcasting at 7680×3840@30fps, with H265 at 20Mbps. The rtmp URL is as follows. The “app” part is the stream key. Divide the input as needed. Please replace xxx.xxx.xxx.xxx with the IP address of the AWS instance you are using. We are using kandao Steam for 8K broadcasting.
rtmp://xxx.xxx.xxx.xxx:1935/live/app
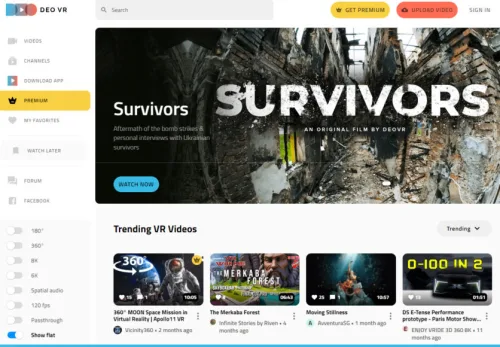
The receiving side’s hls is here. We are using Podplayer. It was received at H265@7680×3840@30fps.
http://xxx.xxx.xxx.xxx:8080/live/app.m3u8
By the way, when creating this article, the server’s operating time was 12 hours, and the EBS (SSD) was 4.3GB. The total bill was $1.28.
Caution
Since this is a test broadcasting server, general security, as well as HTTPS and RTMP security, have not been taken into consideration. Careful consideration is needed when using it as an actual service. Please verify the open-source SRS by yourself.
Jouer, we offer various VR live streaming systems (software, hardware, and server systems). Feel free to consult with us.